No Need to Knead
Suddenly it seems that everyone in the country wants to make their own bread. Perhaps they don’t want to go to the store. Perhaps they’ve suddenly realized that the worst home-baked loaf is better than the best store bought loaf? Well, maybe that’s not always true. But this is something you can do at home, and if you’d like to start, this slow, easy, no-kneading-required recipe is a great way to begin to begin to learn this ancient alchemy that transforms powdered grass seeds into amazing yummy food. But first, a digression: Usually bread is kneaded: this process of squeezing and stretching the dough creates the long (but microscopic) elastic strands of gluten, which gives wheat bread its structure, keeps it from being crumbly like cornbread. This requires some time and some strength and is pretty hard on your wrists, and can be discouraging. However, no-knead recipes, which let the gluten form by itself overnight without the elbow grease, accomplish the same thing with some extra time. The recipe I use is based on a techniqued developed by Jim Lahey, and you can find it written up on line in Epicurious magazine. I take some shortcuts, so it’s not really that recipe; you must blame me and not Mr. Lahey if things go wrong.
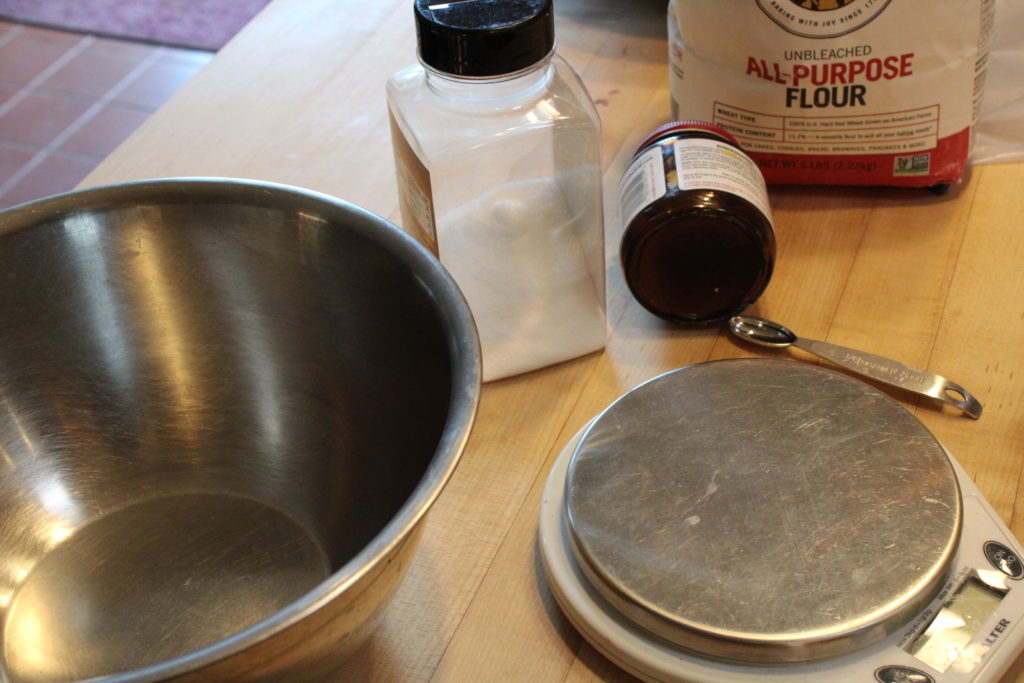
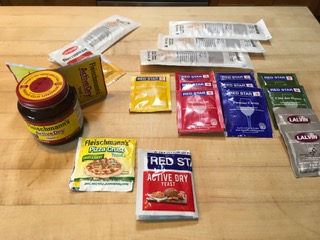
Doesn’t take much stuff! 
To start this recipe you’ll need: A mixing bowl, 400g (14 1/8 oz) of all purpose or bread flour, 1 1/4 tsp (6 ml) of salt, 1/4 tsp (1 ml) of active dry yeast (I use the kind that comes in a jar), and 1 1/3 cups (275 ml) of cool water. It’s best if the water is not chlorinated, so if you’re using treated tap water pour it out and let it sit overnight before using it – the chlorine will outgas from the water and it will be less discouraging to the yeast. You’ll need some kind of cast iron or ceramic pot that can go in the oven to bake the bread in. This works great with a 9″ oval or circular cast iron dutch oven, porcelain lined pot, or ceramic bread/potato pot.
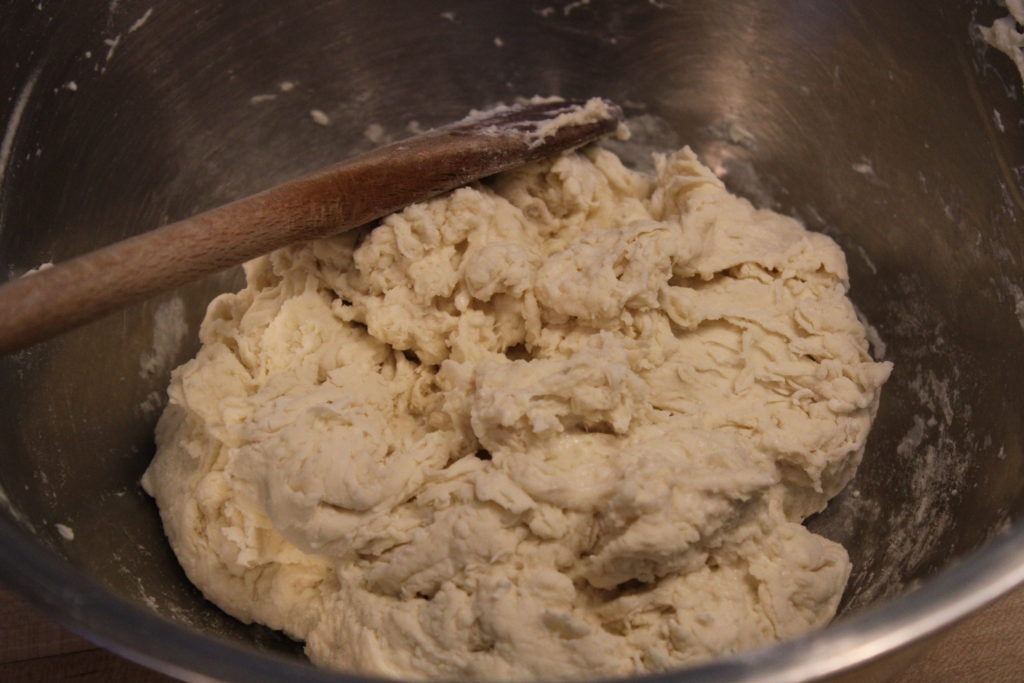
Combine the flour, salt, and yeast. Add the water and mix gently until it’s all incorporated and it forms a dough. Then cover it with a tea towel or loosely with film wrap, and place it in a slightly warm place (ca 22C / 72F), and leave it alone for at least 18 hours. The yeast will grow and ferment in the dough overnight, producing bubbles and making the dough rise. If you have a gas oven with a pilot light, in the oven (before you turn it on) is perfect.
Before rising 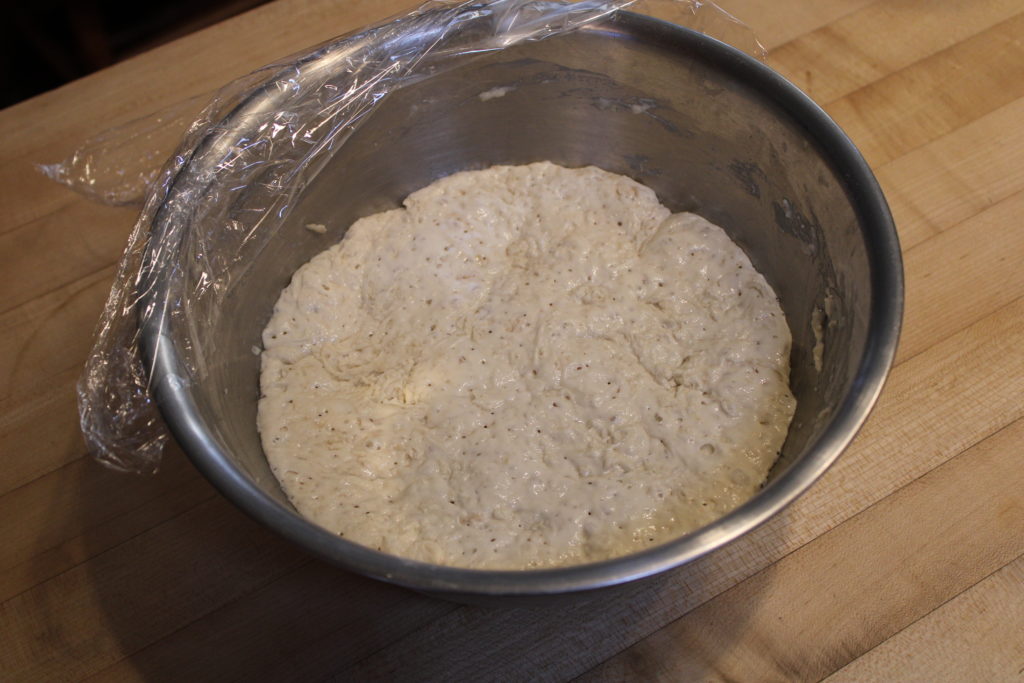
You can see the bubbles in the dough from the carbon dioxide produced by the respiration and fermentation of the yeasts.
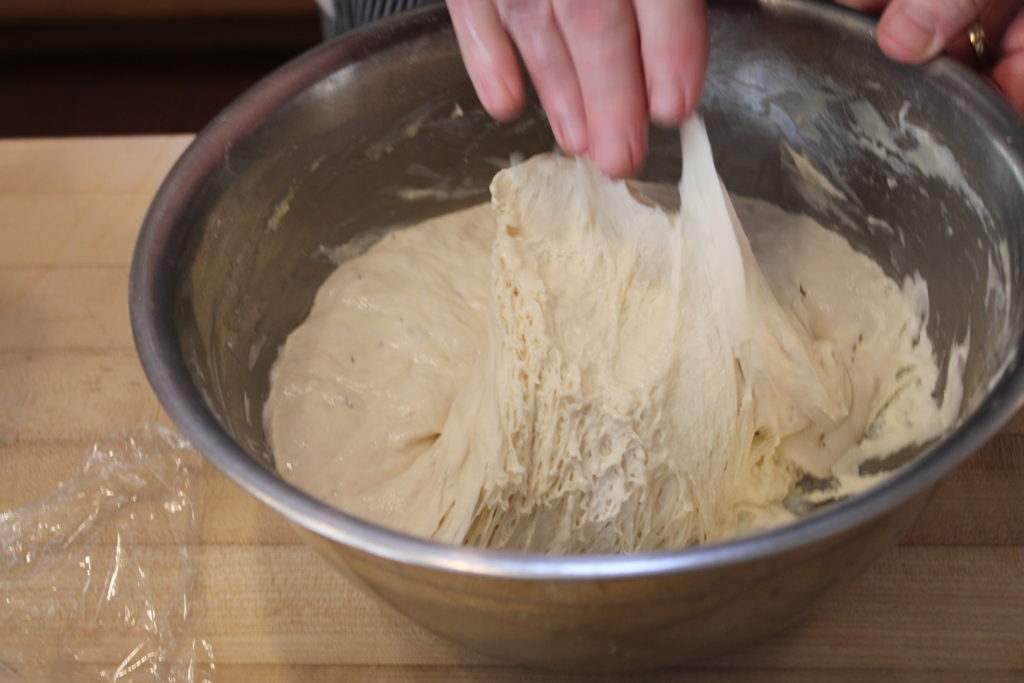
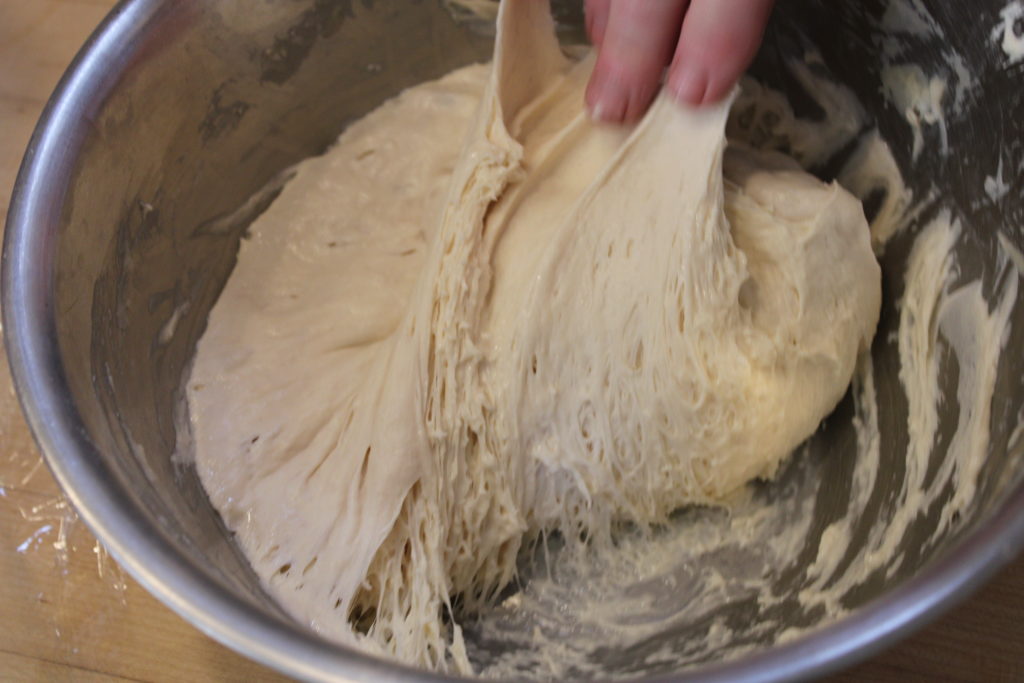
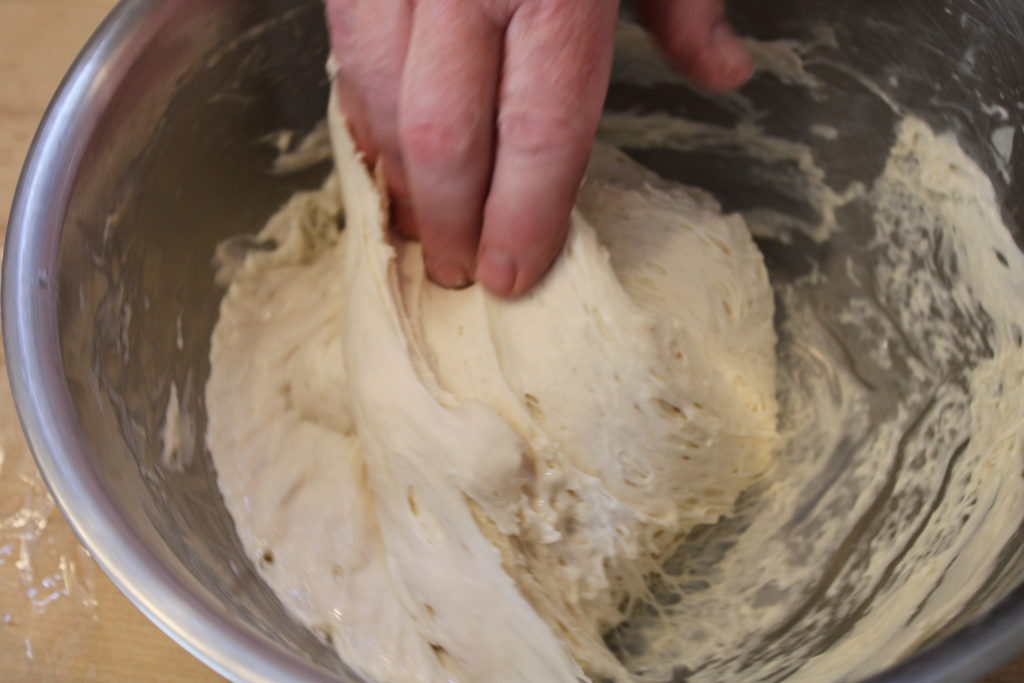
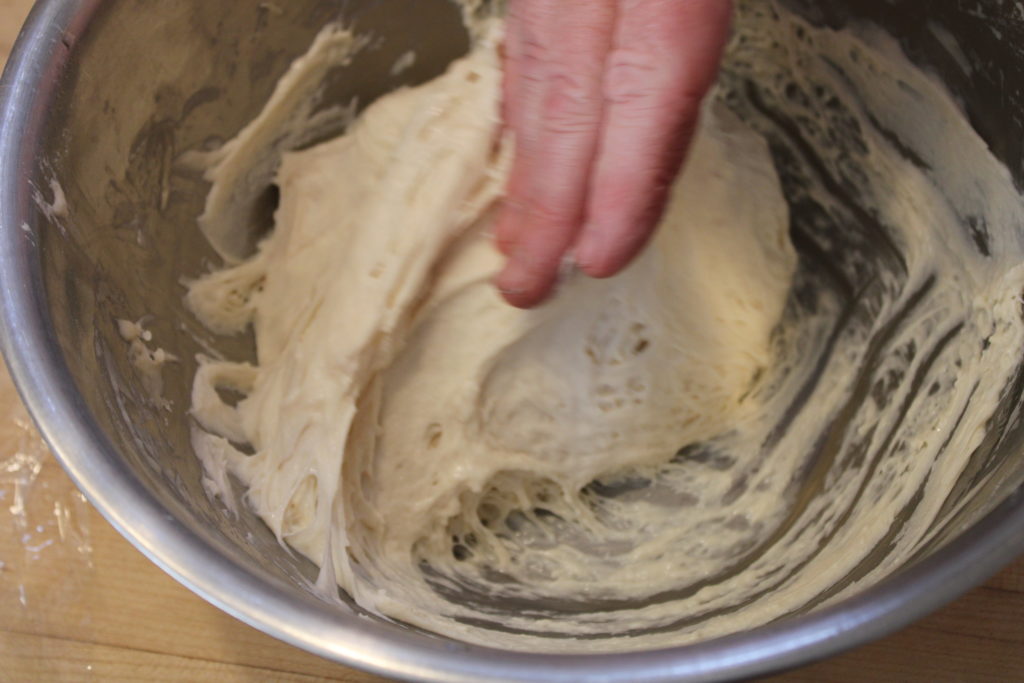
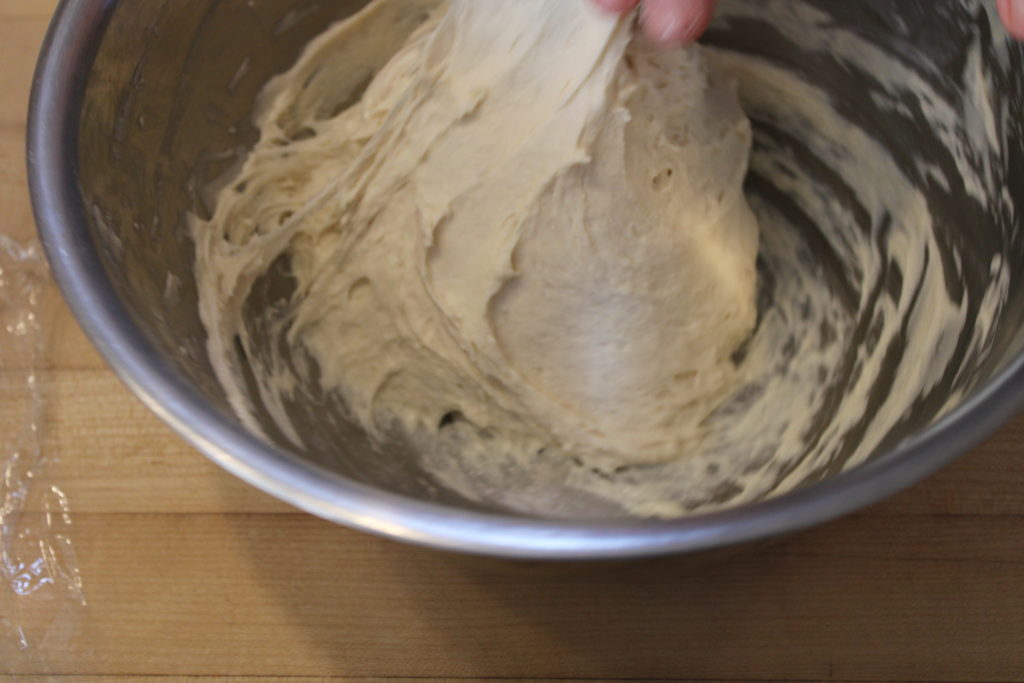
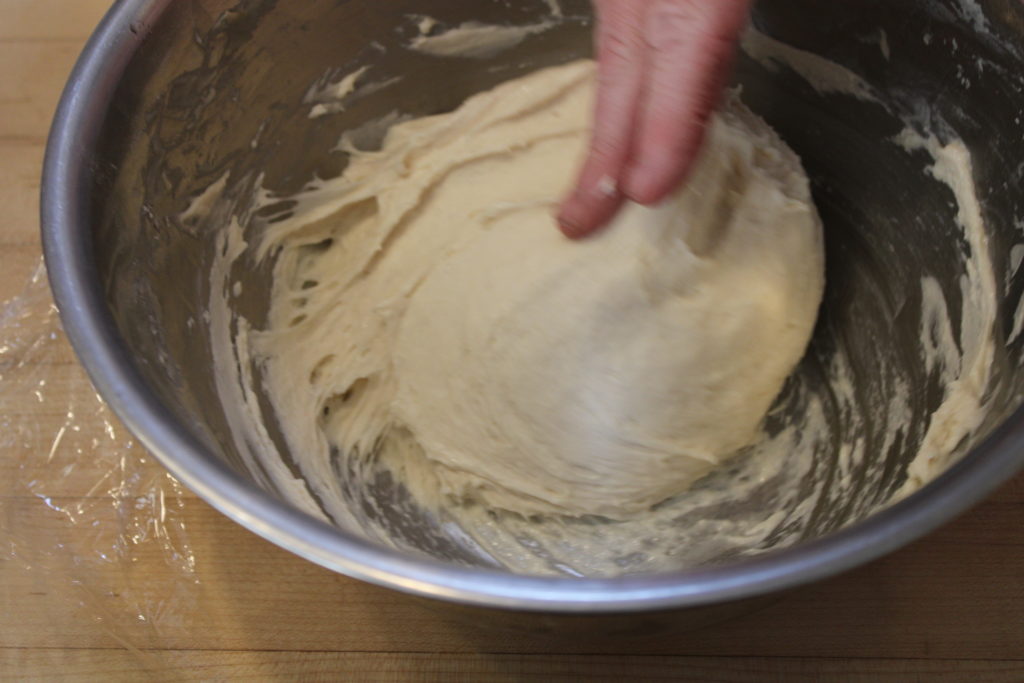
Now the dough needs to be ‘punched down’ so the bubbles don’t grow too large. Don’t punch the dough. Instead, reach in and scoop from the bottom of the bowl to the top, rotate the bowl a quarter turn or so, and do it again, so the dough is stretched out slightly, letting the gases out (it should smell pretty good – the fresh bread smell comes in part from alcohols produced in fermentation), and shaping the dough into a ball. It should still be pretty sticky, but should hold together well. Then, let the dough rise again for a couple-few hours in the same warm place before baking.
To bake, you first heat up your pot and lid. Put them in the oven before turning it on and setting it for 475F (250C) (take the dough out before turning the oven on, if that’s where you’re rising it). When the oven and apparatus come up to temperature, repeat the turn and shape procedure that you did to punch down the dough before. Dust the dough with flour as you finish the process – this will help it release from the pot when it’s baked.
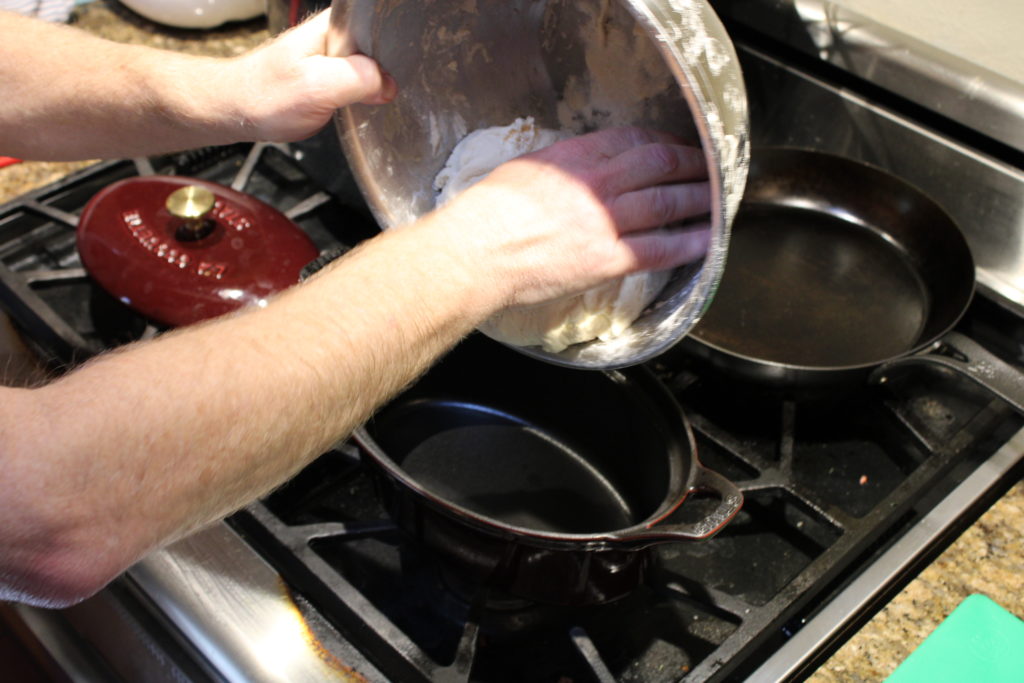
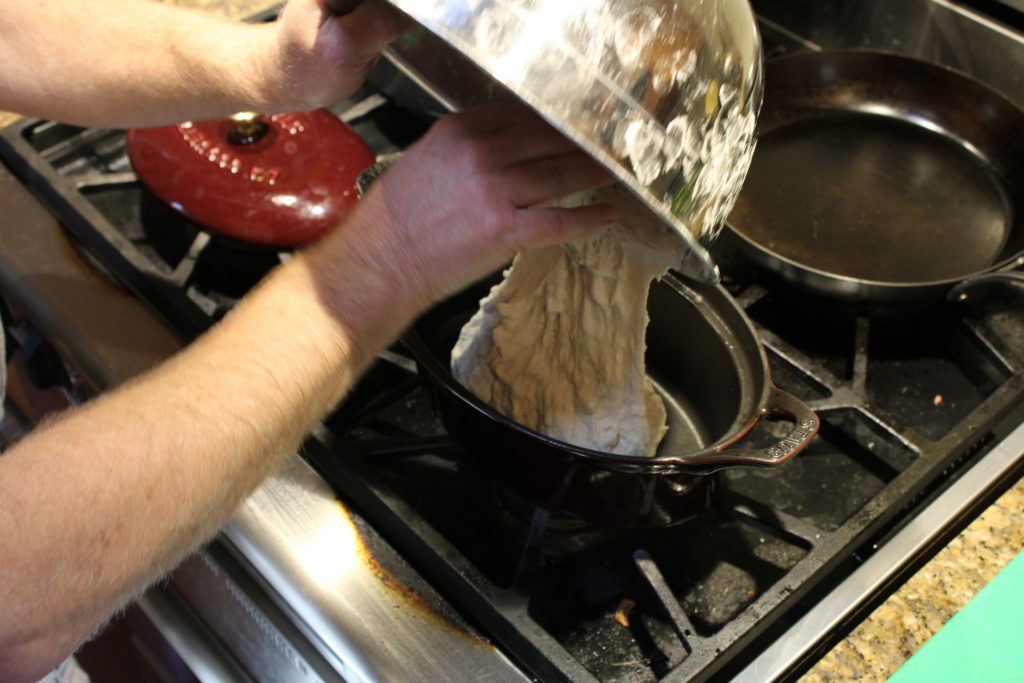
Then, you can quickly remove your heated baking pot from the oven, remove the lid, and turn your flour-dusted dough ball into the pot. Replace the lid and pop it back into the oven. Bake for ~25-30 minutes, then remove the lid. The loaf should have risen but still look pale. Bake without the lid for 15-20 more minutes, and you’re done! The loaf should be golden brown on top, with maybe some ‘ears’ of crust that might be a little darker.
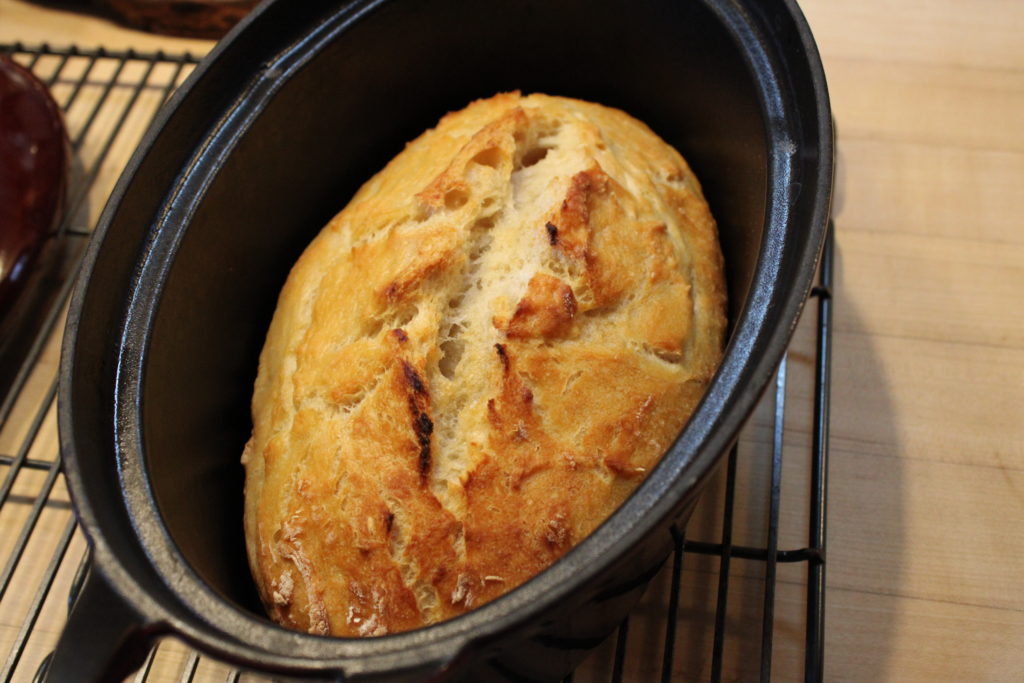
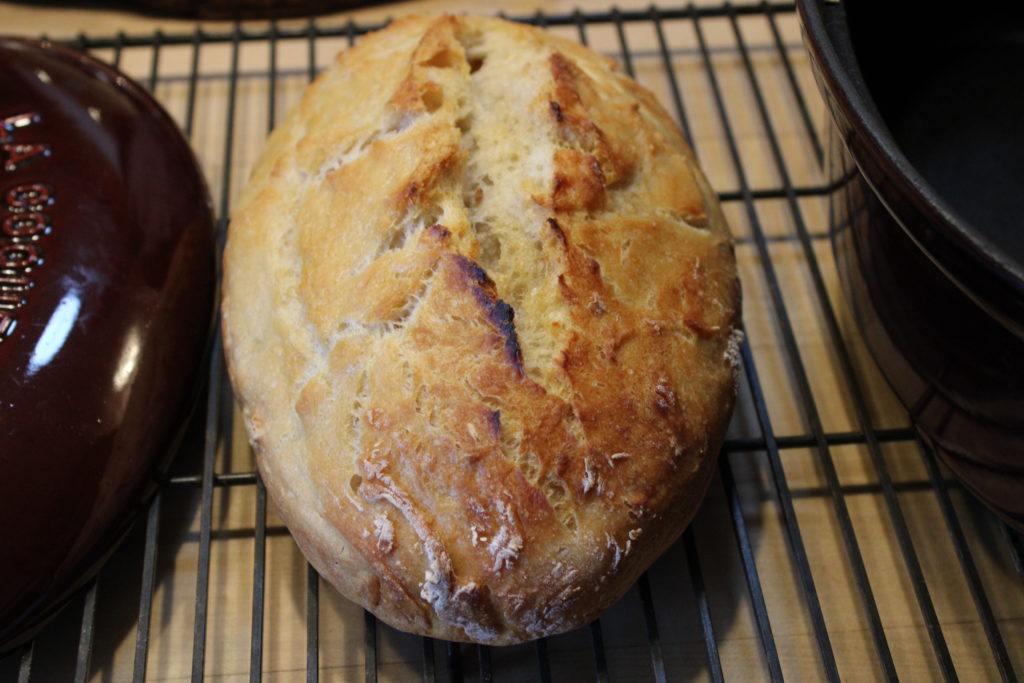
If the bread doesn’t turn right out of the pan, you can use a thin wooden spatula to loosen it, then turn the loaf onto a grate to cool. Important: You must leave the loaf to cool at least an hour before slicing, or it’ll stay sticky inside. Best to do this well in advance, then reheat the loaf if needed when it’s time to serve. Easy!
There’s an important variant of this recipe that we found by reading an article by Ruth Reichl, former editor of Gourmet magazine and food critic for the New York Times. She was getting ready to bake her no-knead loaf when the power went out in her home, and she had an electric oven. She didn’t want to lose her investment in flour, so she phoned Jim Lahey to ask for advice. He said, just keep it going: punch down the loaf every day as you would on the first day. The yeast will continue to grow, and in fact may be replaced by native yeasts from your atmosphere, so you could be making your own sourdough. In the end it was several days before Ms. Reichl had her power back and was able to cook her bread, and she’d made sourdough, just as Mr. Lahey had predicted.
We’ve found that this variant of the recipe works best with bread flour (as opposed to all purpose flour) and the dough can get very wet and sticky after a couple days. Dust some flour onto the dough to keep it from getting too sticky (and to feed your yeasts, who are consuming your flour) if you try this. Good luck! If this goes very well you could hold back some of your dough to make a sourdough starter, which will do you well if you can’t find yeast in the stores … but that’s another chapter.
Thank you for joining us as we do Pandemic Projects, meant to keep you energized, curious and learning!