Hope you like jammin’ too …
Ooh yeah, we’re jammin’, hey
To think that jammin’ was a thing of the past
We’re jammin’, we’re jammin’
And I hope this jam is gonna last
Bob Marley
We’re basically Midwesterners, so canning and preserving is a fundamental brainstem function for us. But more than this – we’ve been driven to it by necessity, as we can’t keep up with the amount of fruit our trees produce. But, anyone can do this; it’s creative and fun and you get to put up some jars of yummy stuff for the winter. Let’s make some jam!
In this tutorial we’ll describe the basics of how to make a cooked, processed jam from fresh fruit. This is perhaps the most complicated way to do jam. There are simpler methods, and those that require fewer special things, but if you can do this method you can do all of them.
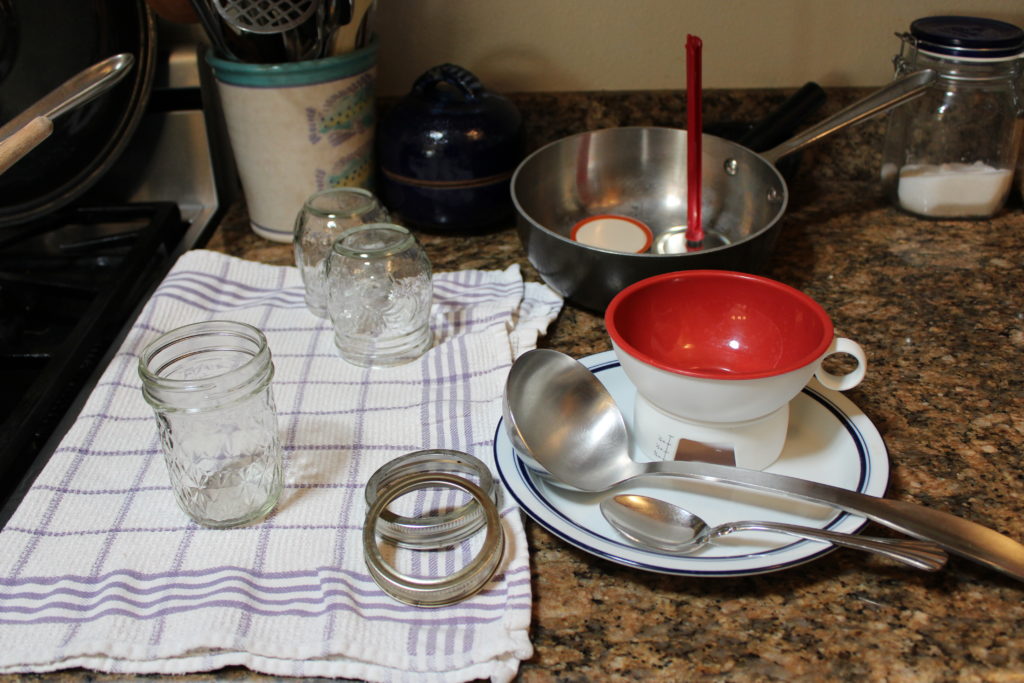
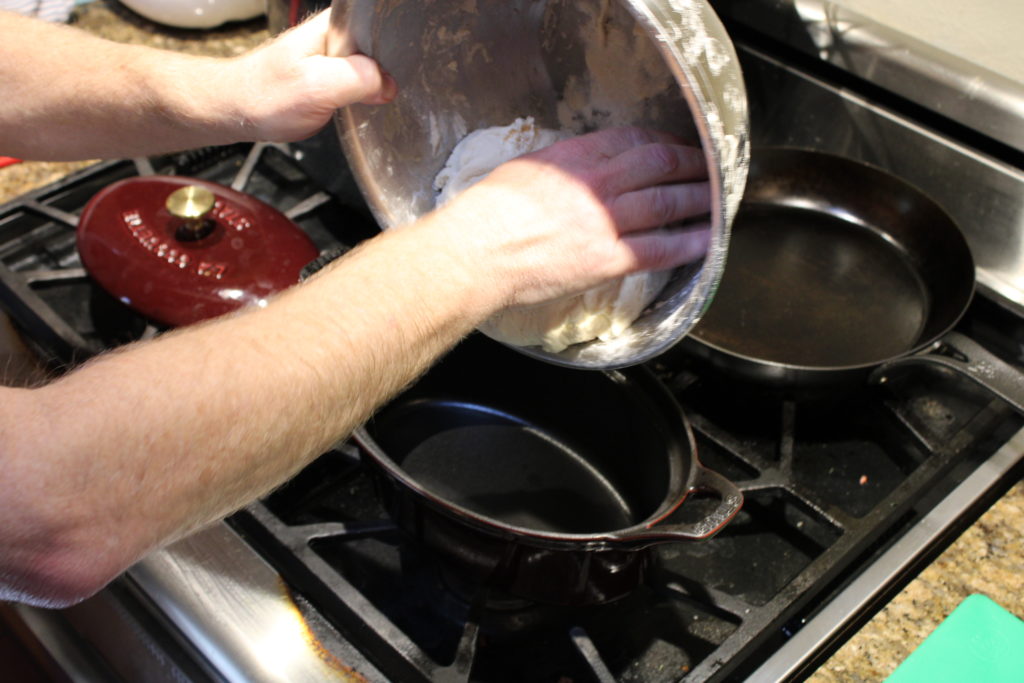
A typical setup for canning 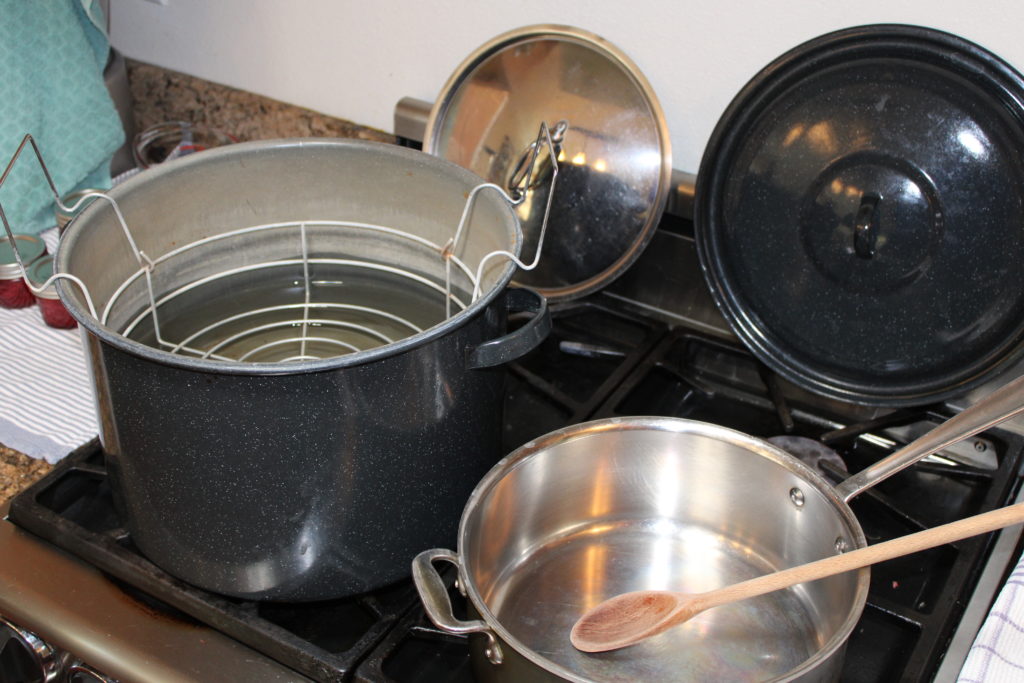
A big pot for processing, and a smaller pot for cooking the jam 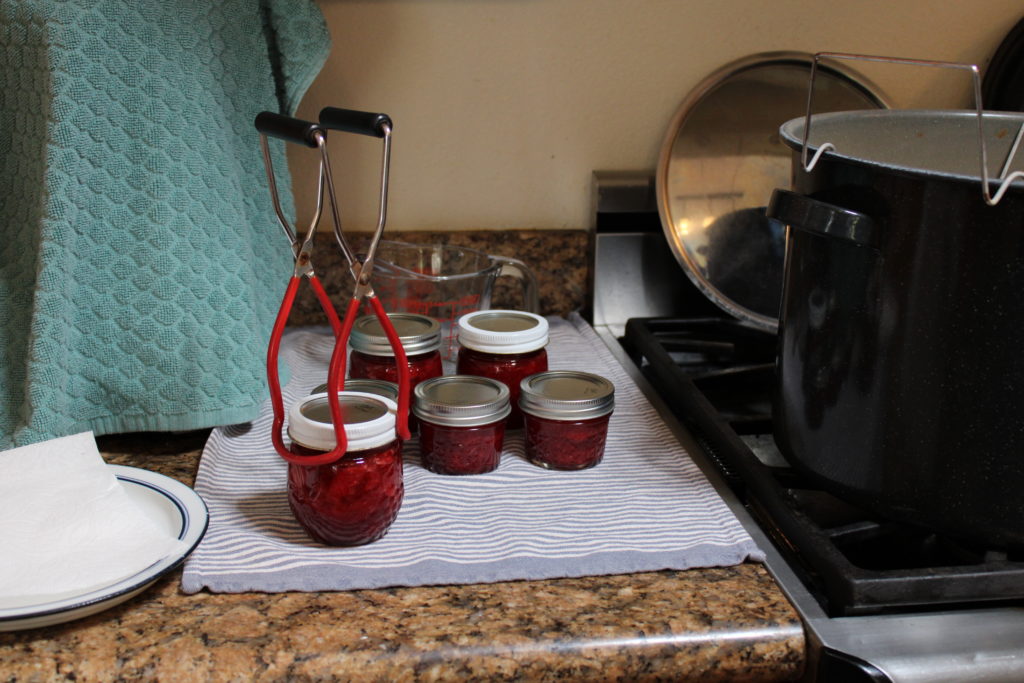
Canning tongs help with handling hot jars
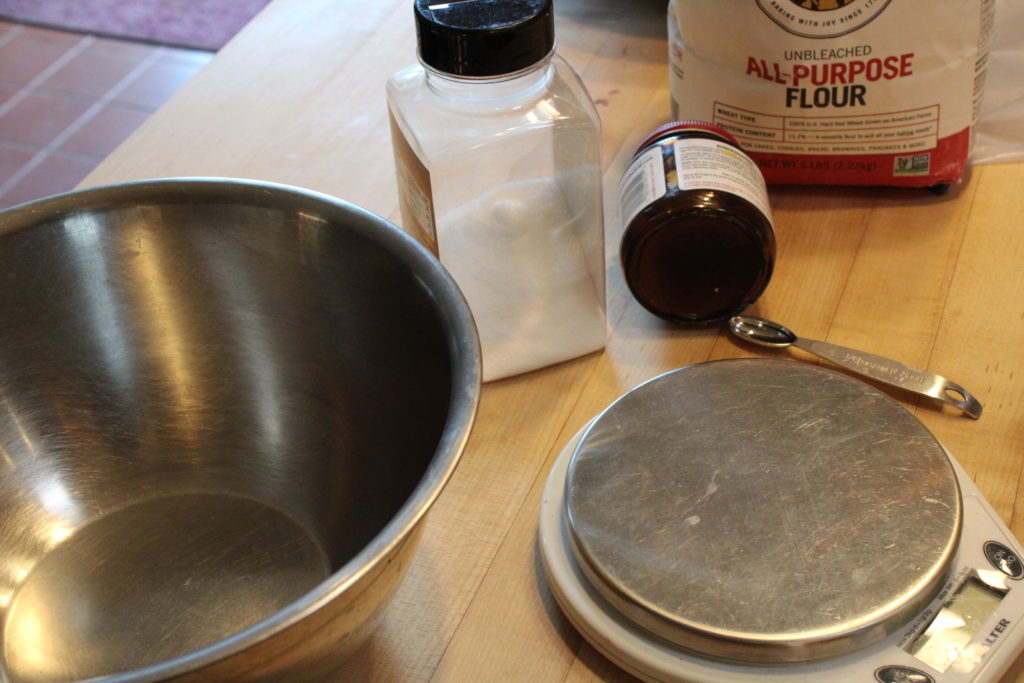
For this method, you’re going to need some stuff. In addition to the jam ingredients (fruit, granulated sugar, pectin powder), you’ll need jars, lids and rings (about $10 for a dozen pint sized jars at the supermarket or hardware store), a big stock pot that’s deep enough to boil the jars in with a couple inches of water on top, and a smaller (but still big) pot to cook your jam down in. Other things that can help tremendously but aren’t required are a canning funnel (it has a wide neck for pouring jam into jars), and a canning tongs (it’s got an odd shape but has coated wire for grabbing jars out of boiling water safely). Special “processing pots” for canning are really big and have a basket that sits inside for easily pulling out jars. You will want all this stuff if you end up doing a lot of canning, but you don’t need to acquire it all at once, and if you’re just doing small amounts you can easily make do with tools you already have in the kitchen.
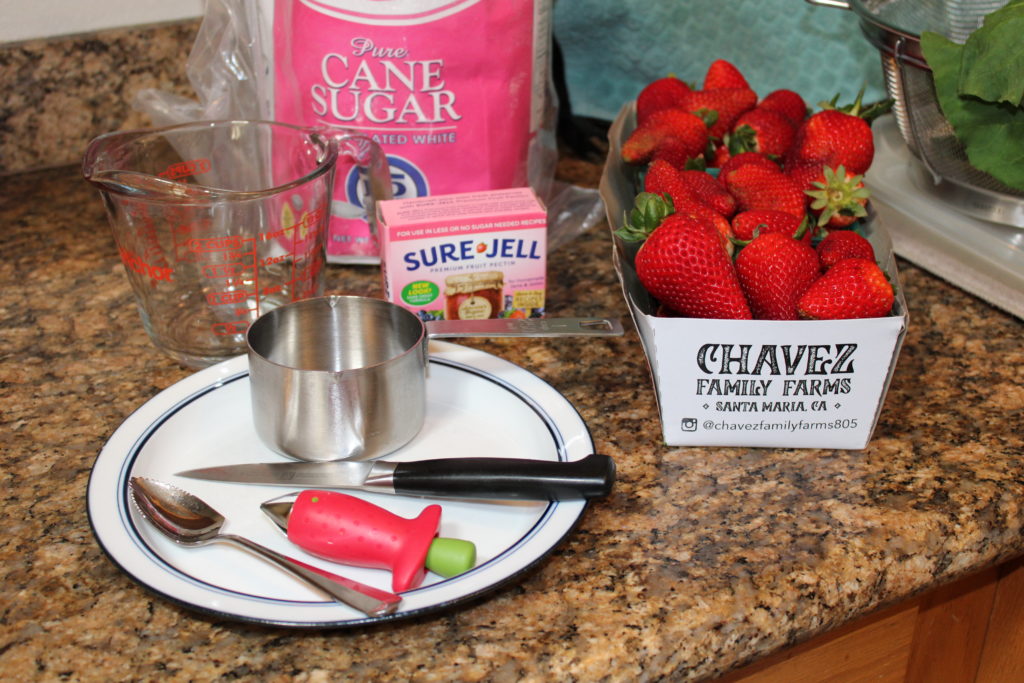
This year, strawberries came early to this county, so we’re going to describe how to make a batch of strawberry jam. The moves are going to be the same for different fruits, but you’ll use different amounts of fruit and sugar and maybe other ingredients depending on exactly what you’re canning. One thing we strongly recommend is to use the ‘less sugar’ recipes listed on the instructions in a “pink box” package of Sure-Jell pectin. We like to taste our fruit and its tartness and not to be overwhelmed by sugary sweetness.
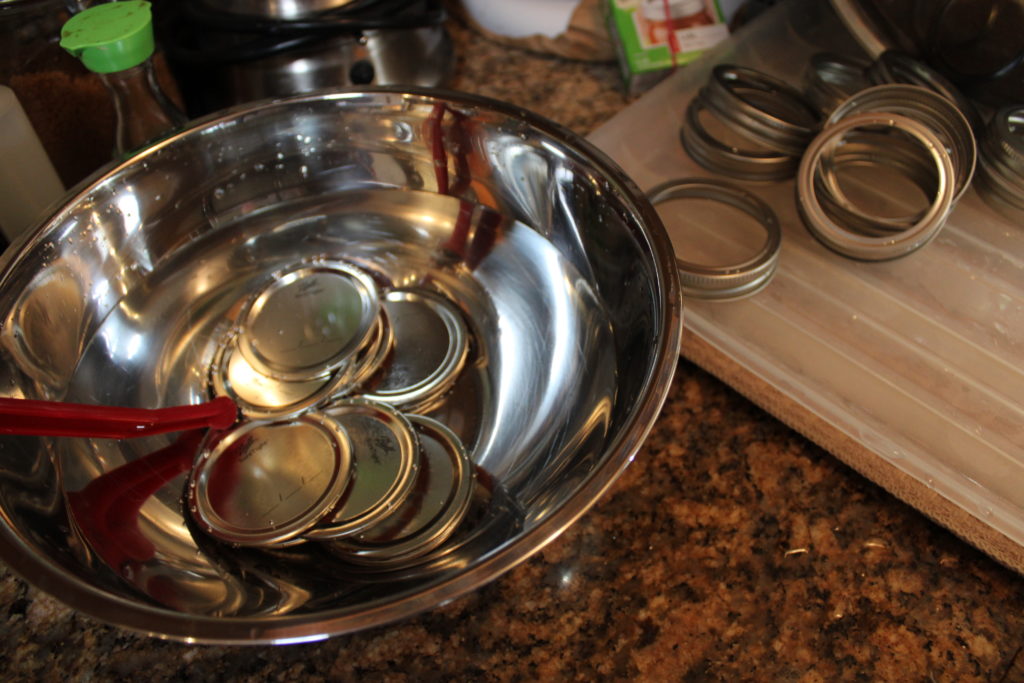
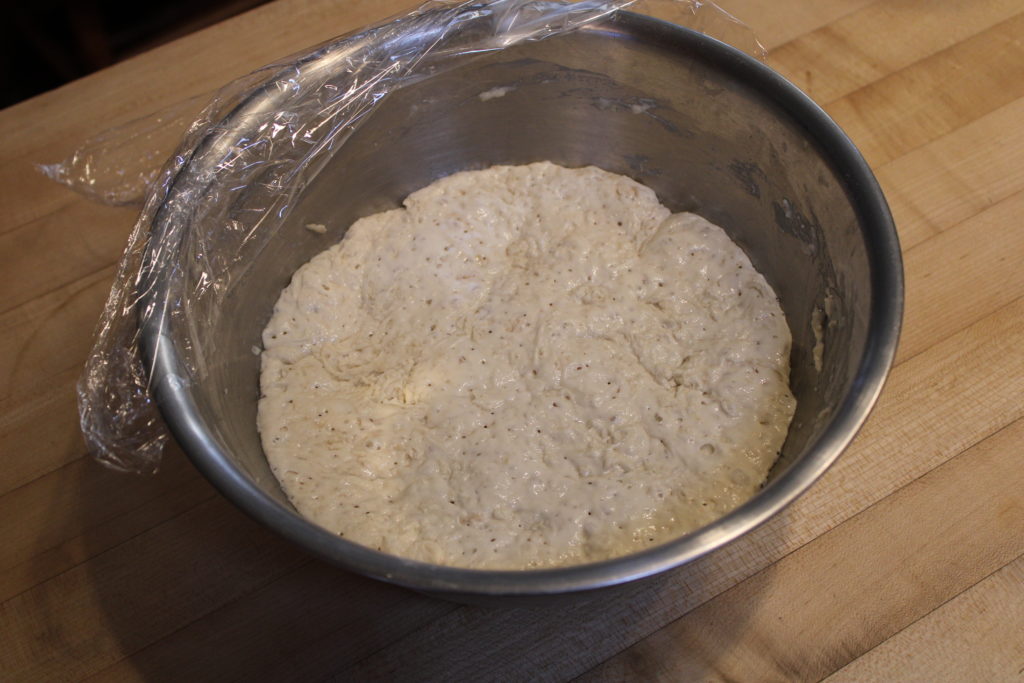
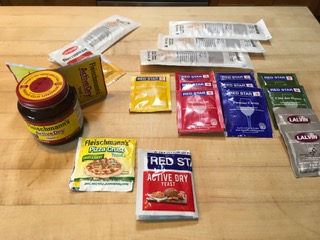
Before you begin, you’ll have to wash your jars, rings, and lids. The lids have a rubber seal on the inside that works best when it’s softened a bit, so when you’re ready to jar your jam you should put the clean lids in hot water to warm the seal up.
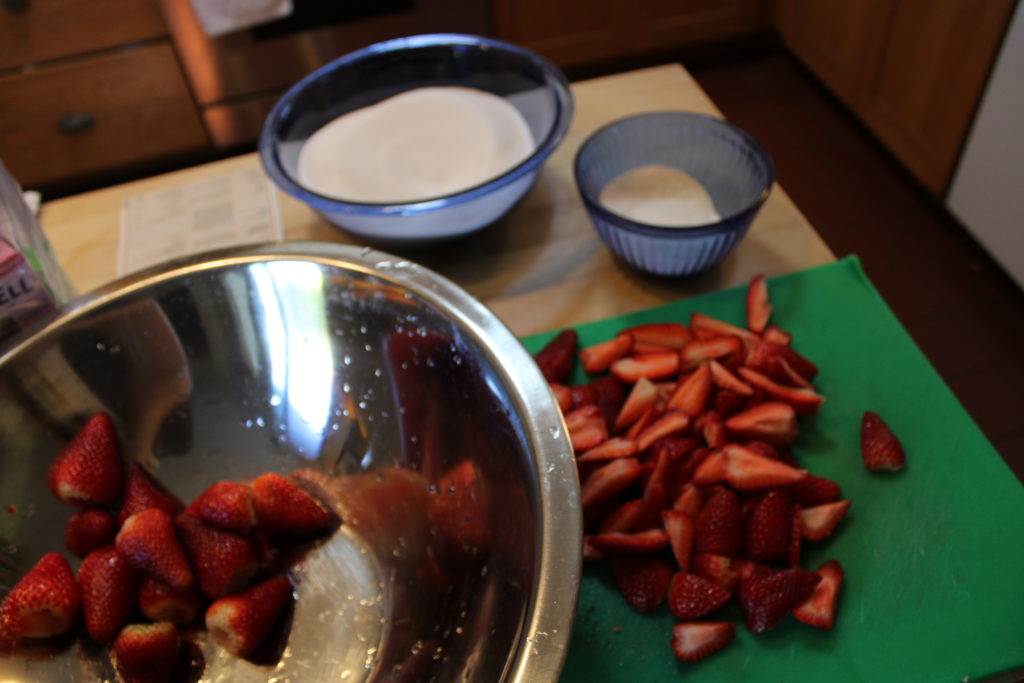
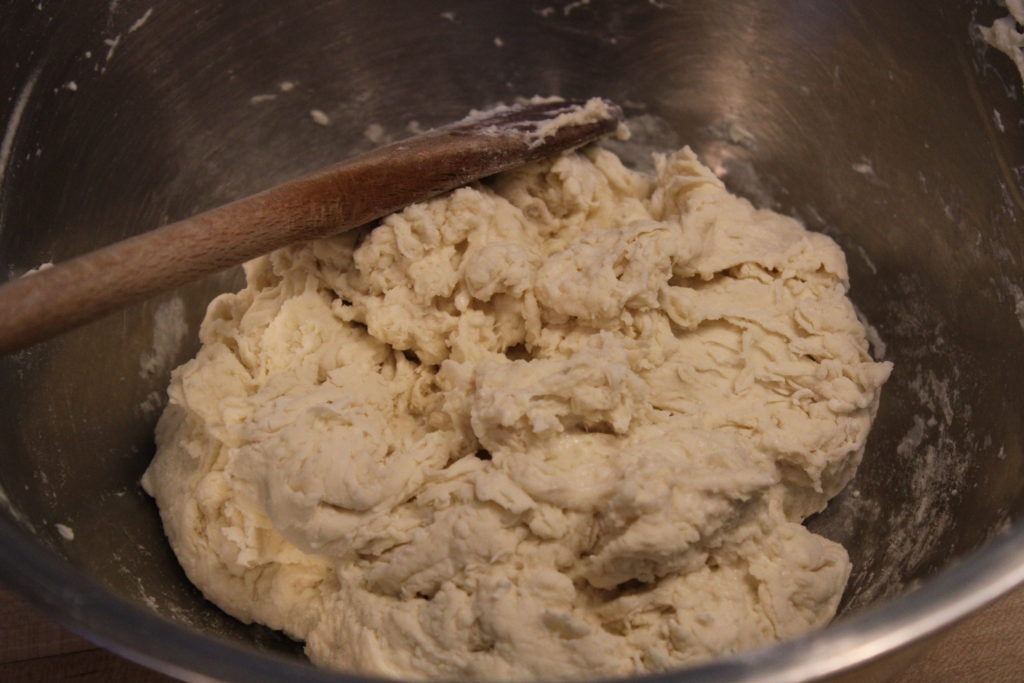
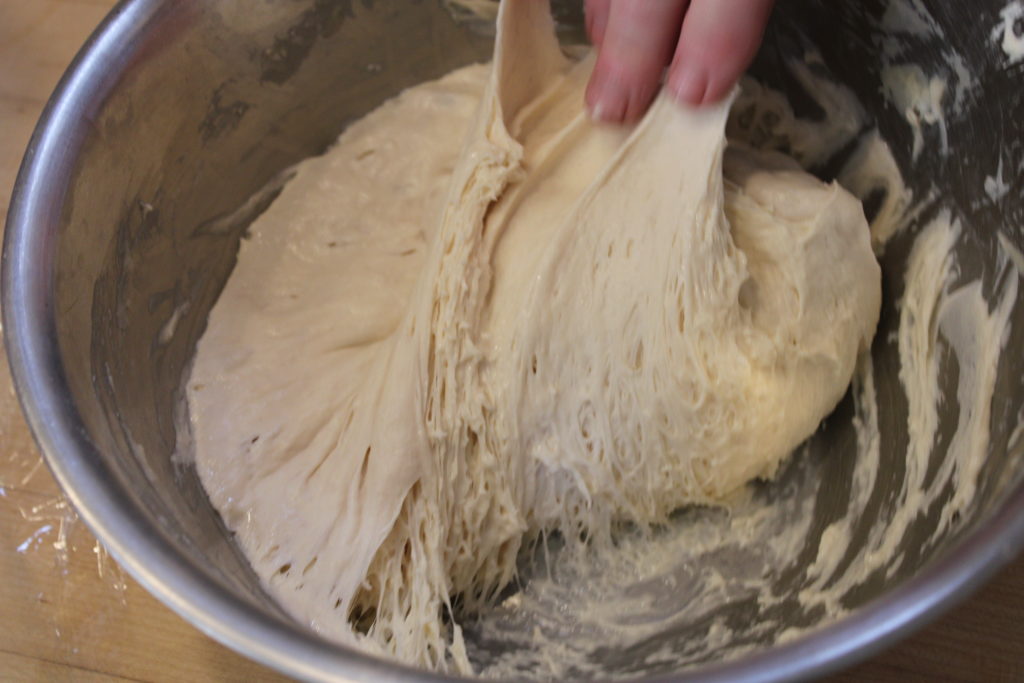
Now to the fruit. To do a batch of 8 to 10 8 ounce (half pint) jars of jam, you need around 12 cups of whole strawberries (at least five baskets), one packet of pink box Sure-Jell pectin powder, and 4 cups of granulated sugar (cane sugar is best). We like relatively early fruit – there’s a balance here between the full flavor of ripe fruit, and the better setting power and tartness of less than fully ripe fruit. A whole batch of wholly ripe fruit will not set well and might have a cloying flavor. A mix is good. Wash the fruit very well, cut off the green parts and any bad spots, and dice the fruit into 1/2 inch pieces (this isn’t critical – you can have smaller or bigger pieces if you like, so long as you can fit them into the jars). When they’re chopped they should make something like 8 cups of fruit (so this should tell you how big your cooking pot should be – like 12 cups or bigger). Mix together the packet of pectin and 1/4 cup of the sugar you have already measured, then put that mix into your cooking pot with the diced strawberries, and mix well. Mash the strawberries a bit with a potato masher to macerate them and release some of their juice.
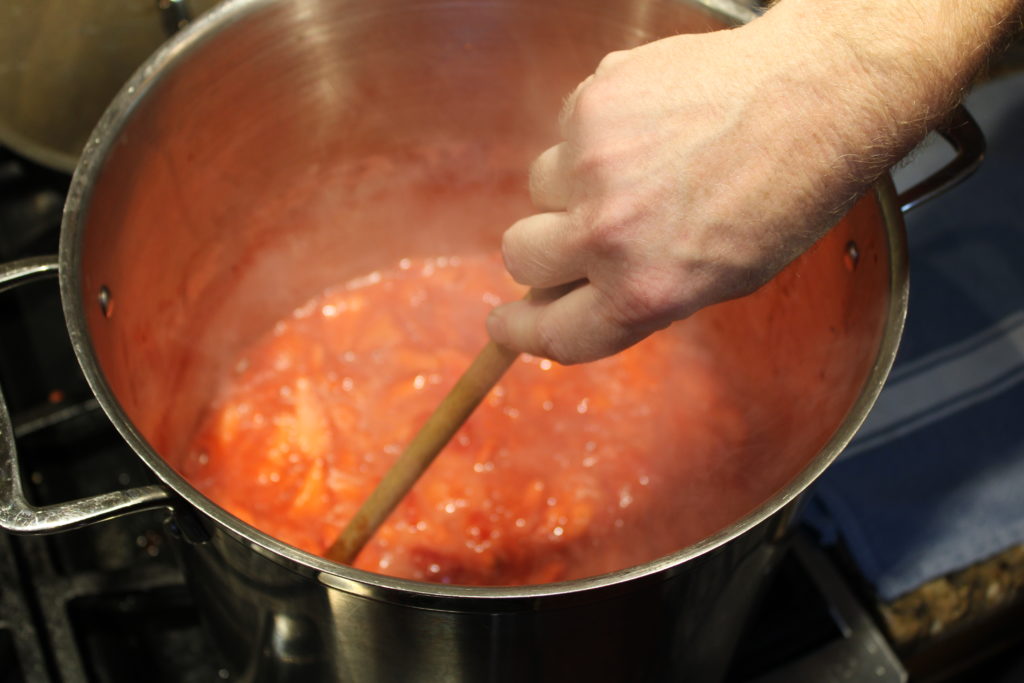
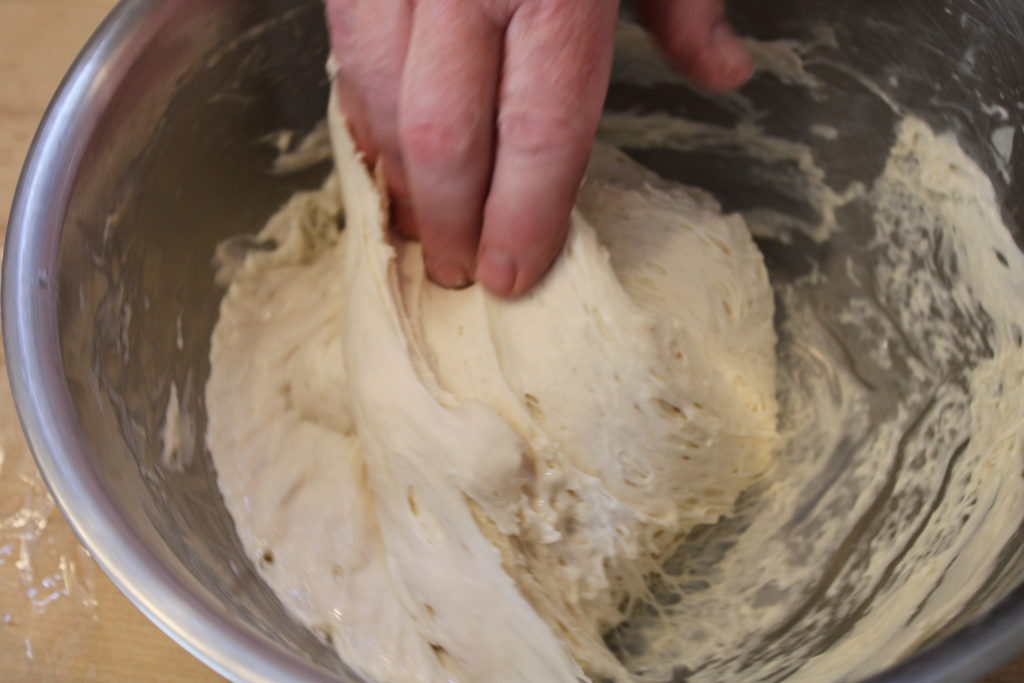
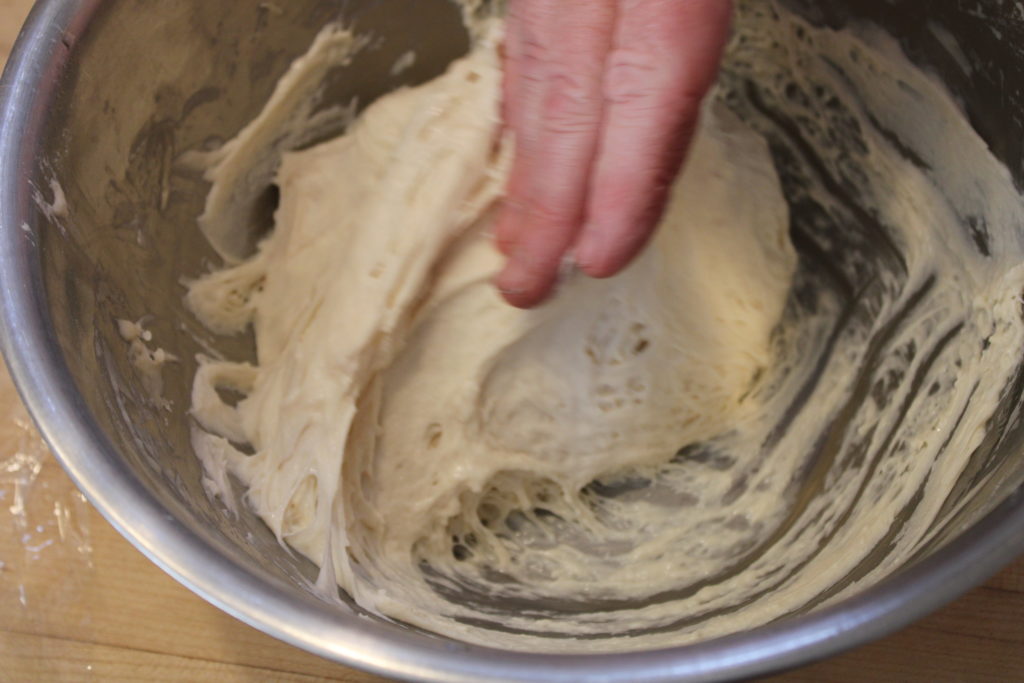
Stir constantly to prevent any burning or sticking to the pot. 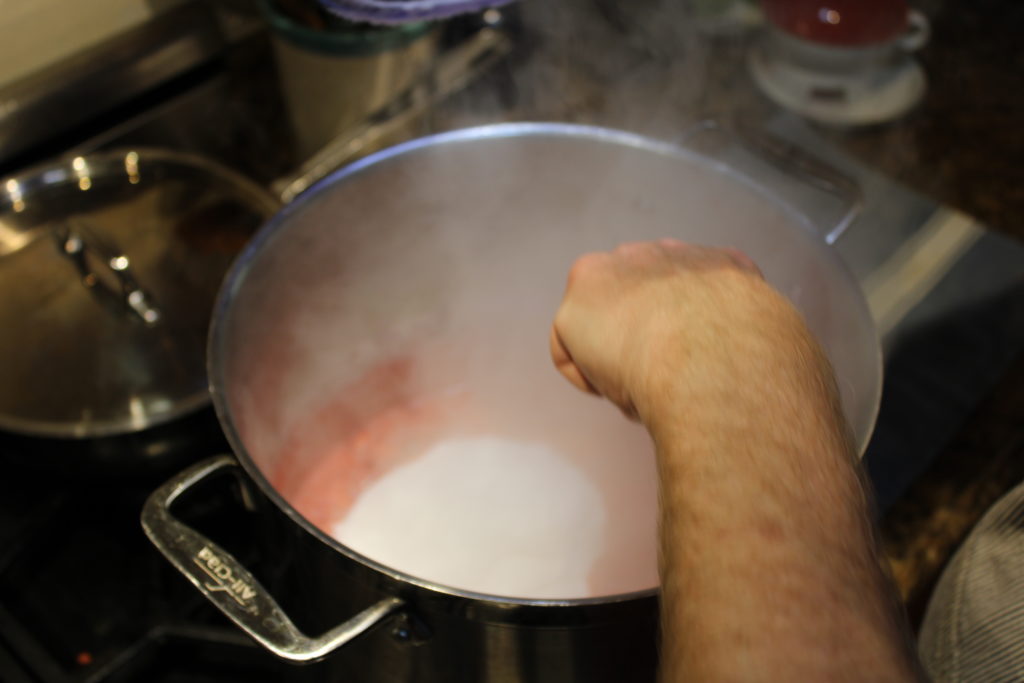
Stirring in the sugar
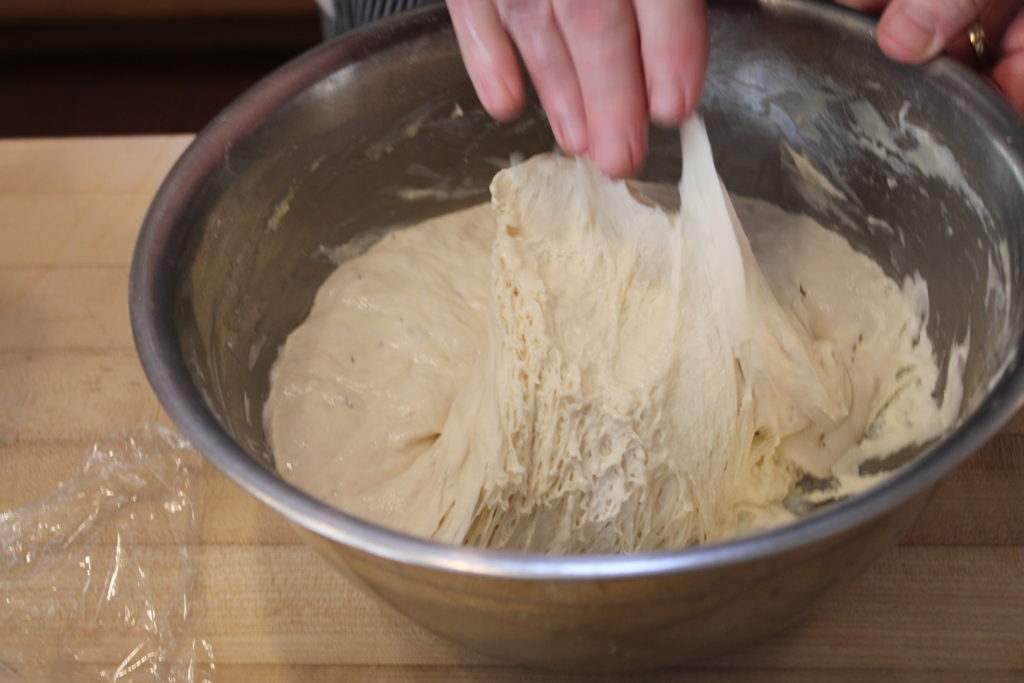
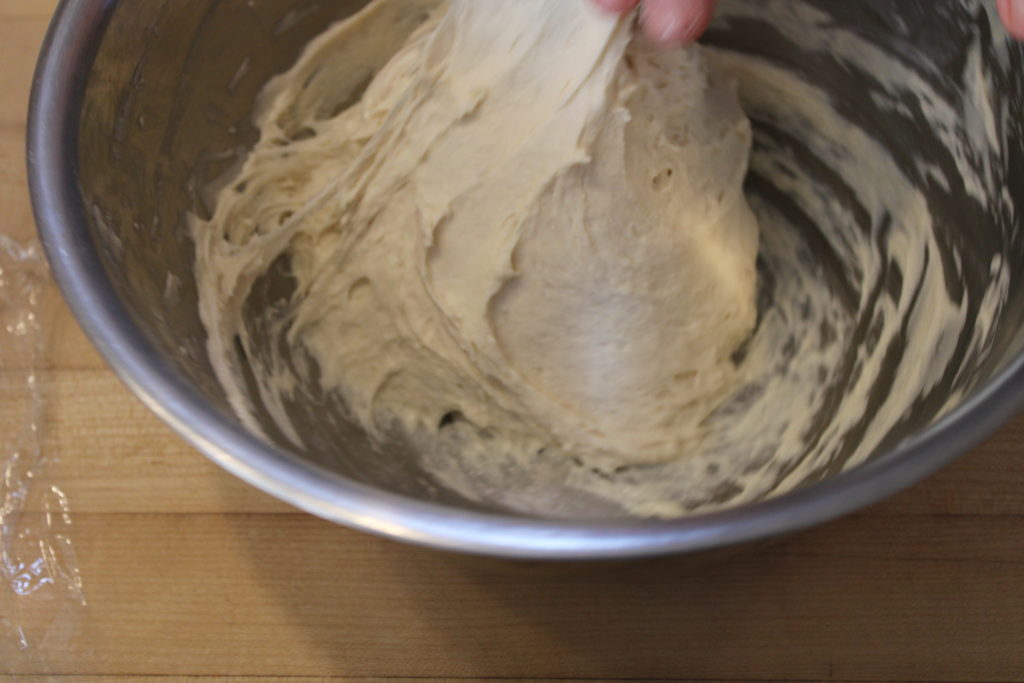
Now it’s time to cook the jam. Have the rest of your sugar at hand, and a kitchen timer that can give you an accurate measurement of one minute. Put in a teaspoon or so of butter if you like – this will help reduce frothing in the jam. On high heat, bring the fruit / pectin mixture to a full rolling boil – this means, the boiling doesn’t stop when you stir the mixture. This means the whole volume of the mixture is at the boiling point. Then, add the rest of your sugar (3 3/4 cups), and stir it in well. Once again, keep stirring and bring the mixture back to a full rolling boil. when it has reached the full rolling boil, start your timer and boil for exactly one minute more. Then turn off the burner and remove the pot from the heat. Congratulations: you’ve made jam. At this point, as it cools, the jam will set into the familiar jam texture. However, you’d like to keep some for later – so your’e going to have to can it in jars and process it to prevent any spoilage. This should be done quickly while the jam is still hot!
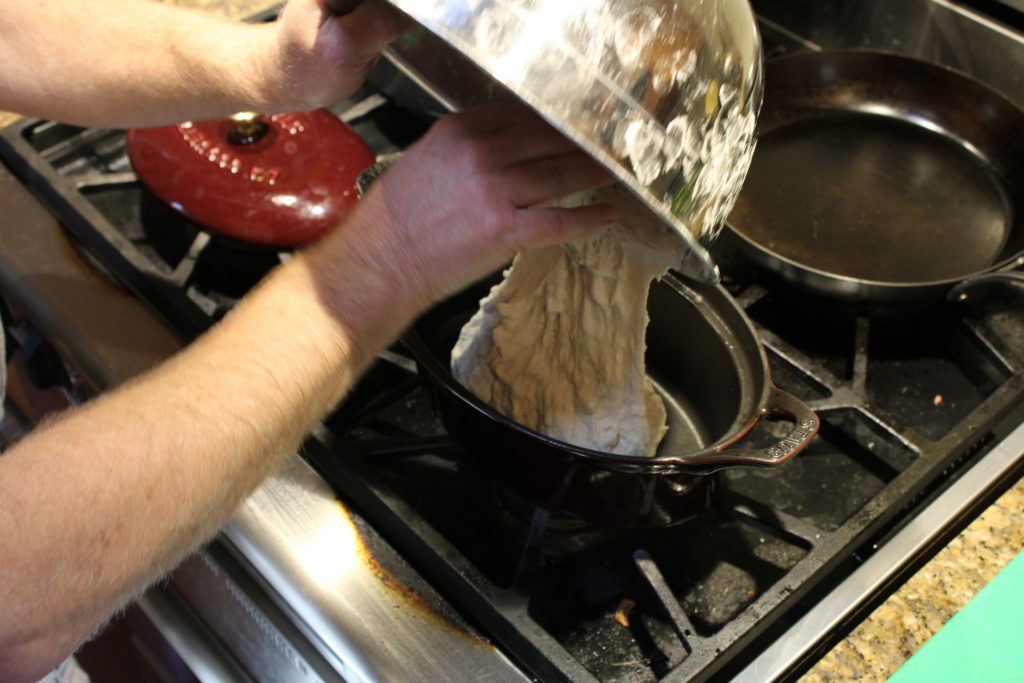
You’re going to need to have enough boiling water in your canning pot to cover your jars by an inch or two. Make sure you’ve got that going before you fill your jars. You will probably need to process more than one batch of jars, so depth is more important than width in this case. Important note: everything is going to be hot. Be careful. Getting boiling jam on your skin is painful and could cause burns (also, tasty when it cools).
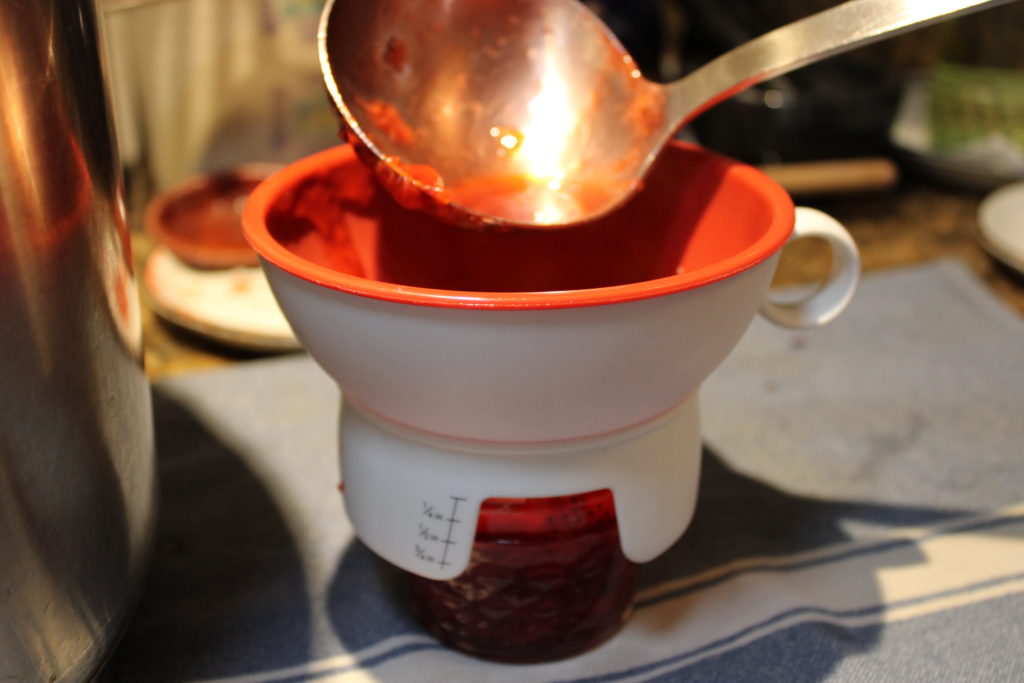
Some canning funnels have a scale on the edge to let you know how full your jar is 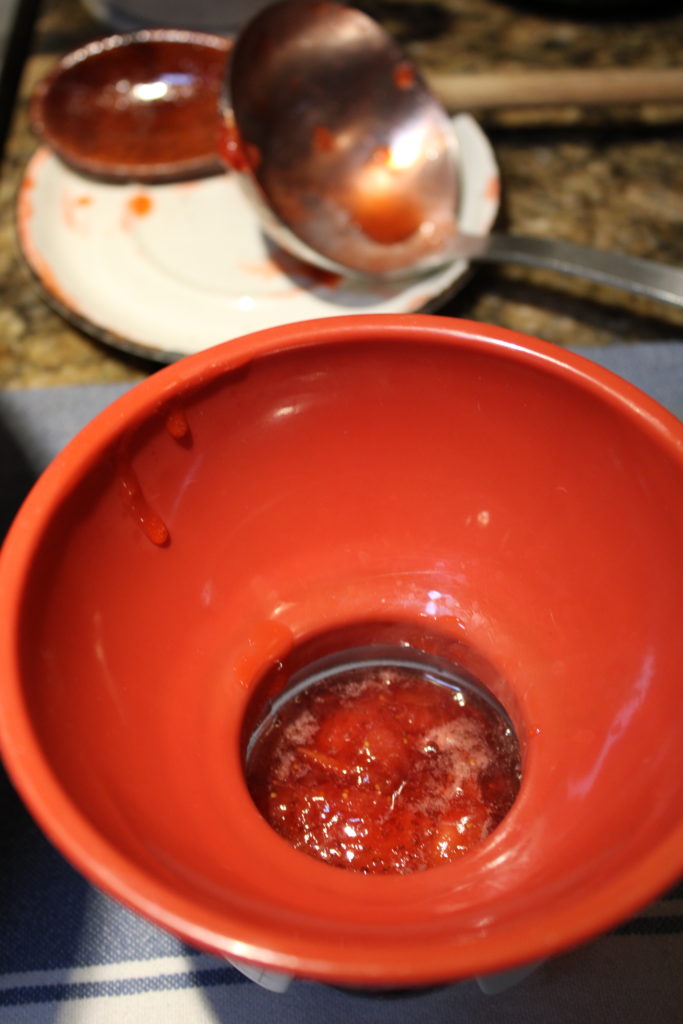
1/4″ headspace for this jam 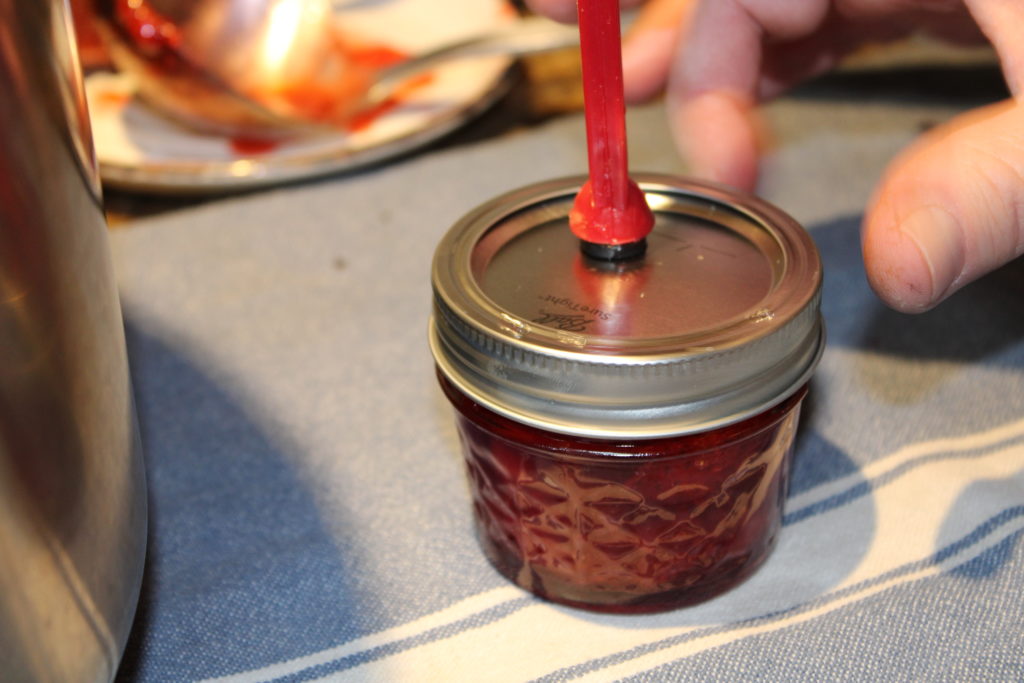
Fill the jars using a ladle or spoon and the canning funnel if you have it. You’re going to need to allow some headspace between the top of the jam and the lid – for this recipe it’s about 1/4 inch, but other recipes might need more headspace. Be sure and check your recipe. Check the rim of the jar and the threads, they should be free of jam. Use a damp paper towel to clean them off if necessary. Jam on the rim of the jar could prevent a good seal. Jam on the threads could stick the ring. Place the lid on, then the ring, and tighten finger tight (not too much).
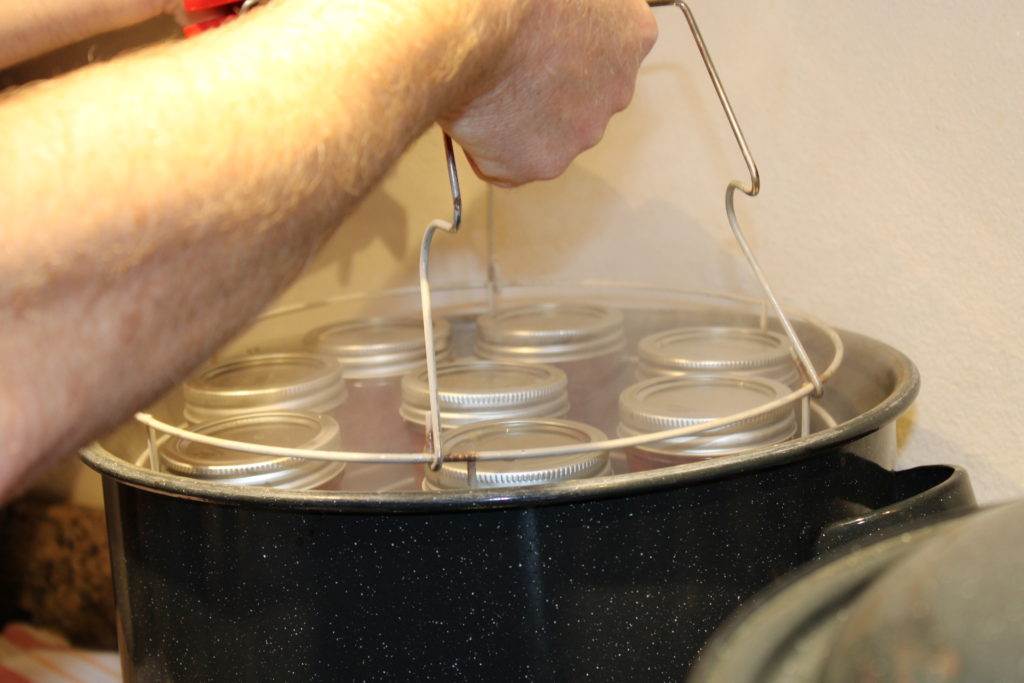
When you’ve filled enough jars to fill your processing pot, pop them into the boiling water, wait for the water to boil again, set your timer (15 minutes for this jam, but it could be 10-30 minutes depending on what you are canning). While you’re waiting for the first batch to process, you can fill the next set of jars.
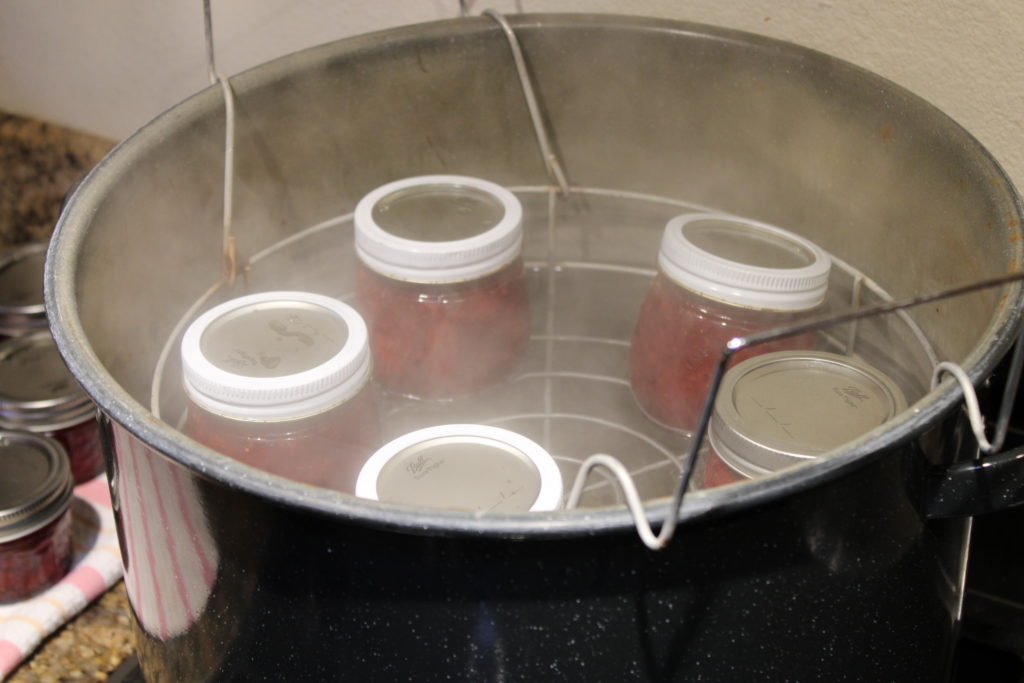
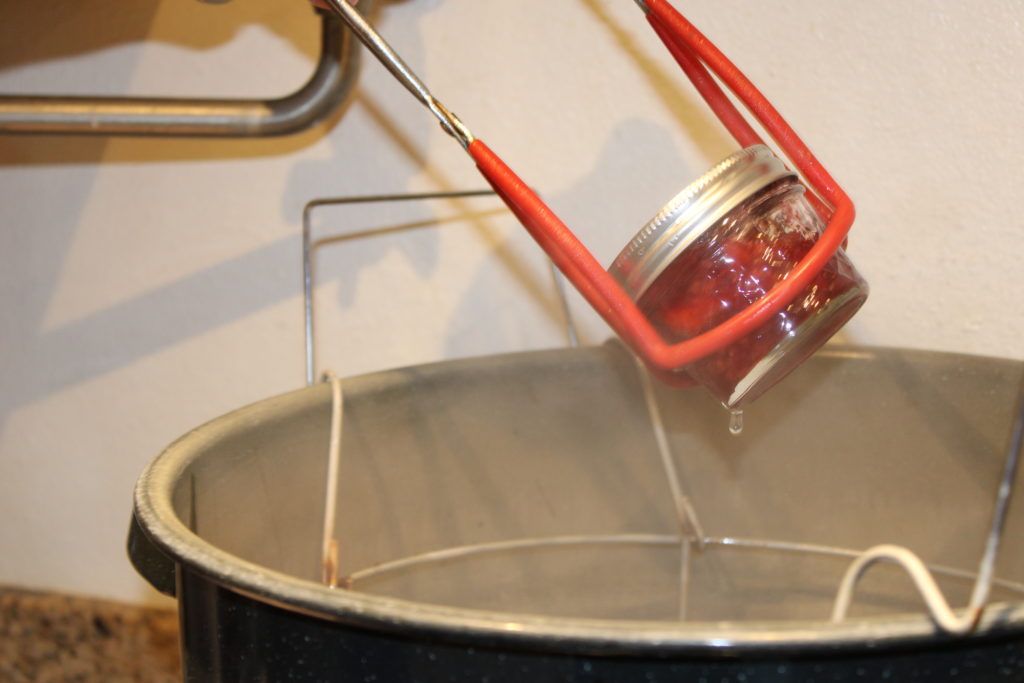
When the timer goes off you can pull your jars out! If you don’t have a canning tongs you can use barbecue tongs, or silicone mitts, or a ladle – just remember the jars will be boiling hot. It helps to carefully wipe off any standing water on the top of the lid (to prevent deposits). Most of the time, as the jars cool, you will here a pop or ping sound as the lids contract and stick down to the rim to seal the lid.
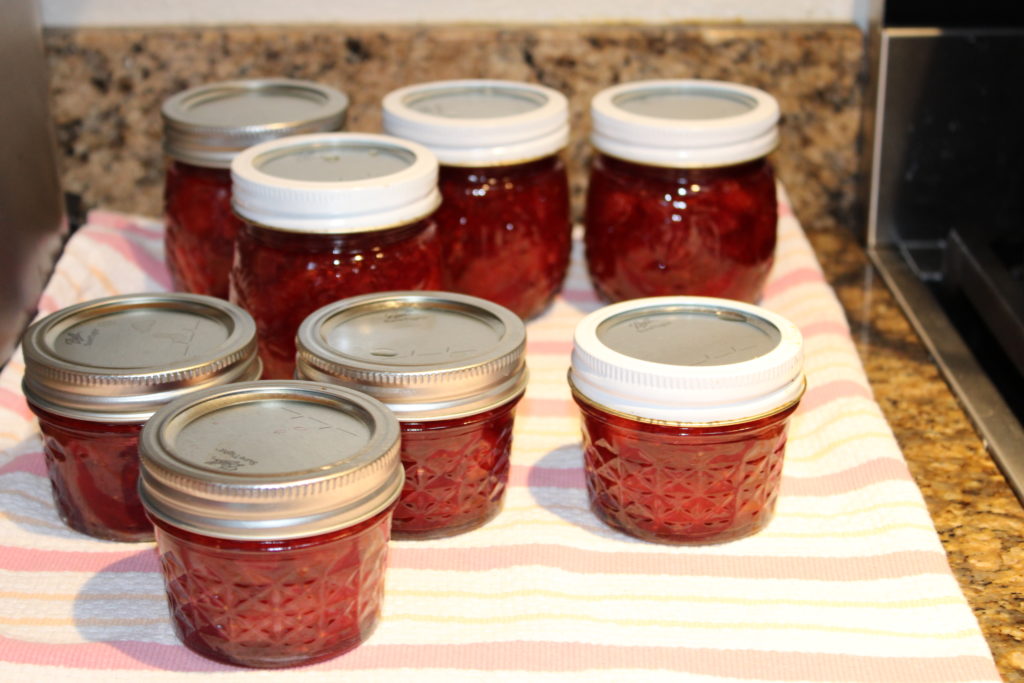
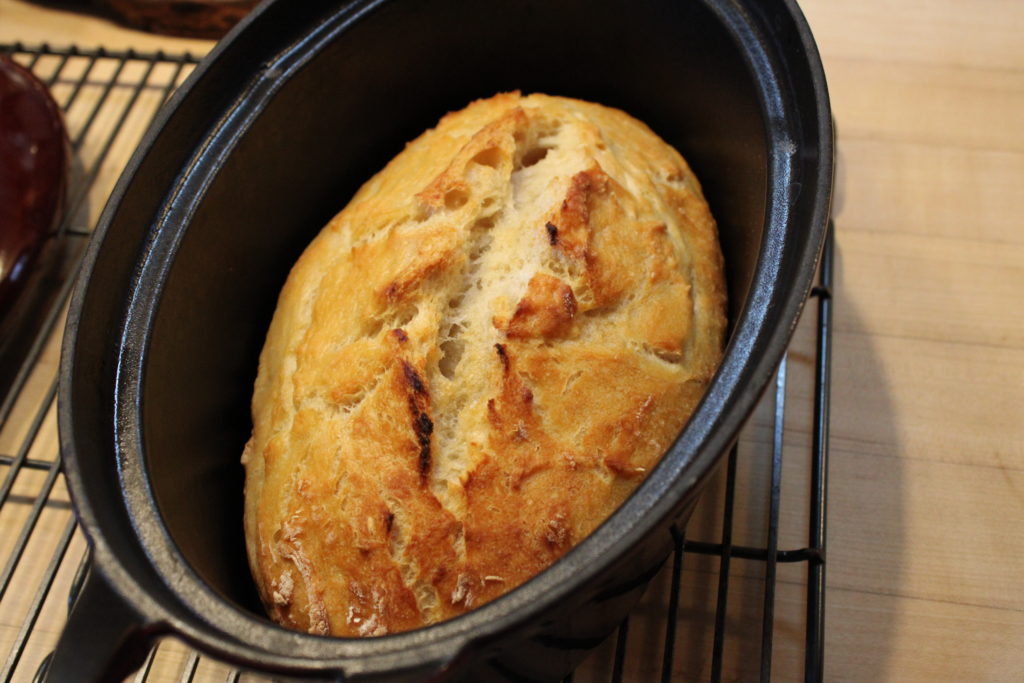
Let the jars cool. Test the jars by pressing down on the center of the lid. If it moves (pops down), the jar did not set properly, and it won’t keep. If the lid is already down, you have successfully preserved the jam. It will stay good for up to 18 months. You will notice that the hot jam is still liquid – even after it cools it will take days to set, so don’t worry if your jam seems runny, just be patient and it will be fine. When you open a jar of jam, you will need to eventually discard the lid – the seals can only be used once – but you can save the jars and rings to use again and again. Some of our jars and rings have seen ten seasons of use.
This basic procedure can be used for any number of jams: the differences between them will be the amount of fruit or sugar or pectin or other additives (like lemon juice) which will depend on the type of fruit and so forth. You can look at the directions in your packet of pectin, or you can refer to other authorities (our canning guru is Esther H. Shank, author of Mennonite Country-Style Recipes, which is an amazing cookbook includes recipes and guidelines for canning almost anything you can imagine). You don’t always need pectin to set jam or marmalade, sometimes additional cooking is all you need (but be careful or you might accidentally make candy). But something like this is how people in America have saved summer fruits and vegetables for the winter, for centuries. And as Bob Marley observed, jammin’ is not a thing of the past. Enjoy!
Thank you for joining us as we do Pandemic Projects, meant to keep you energized, curious and learning!